
The beauty of freshly installed tiles can transform any space, adding elegance and functionality to kitchens, bathrooms, and living areas. However, achieving that flawless finish requires precision, patience, and the right techniques. If you’re a DIY enthusiast or working with a professional, understanding the essential tile installation tips can help prevent costly mistakes and ensure long-lasting results.
This guide will walk you through how to get perfectly even tiles during installation, covering everything from adhesive application to common pitfalls to avoid. Let’s start!
Choosing the Right Tile for Your Space
Selecting the appropriate tile is the foundation of a successful project. With a wide variety of materials available, ceramic, porcelain, natural stone, and more, it’s essential to choose tiles suited to the intended space. High-traffic areas like hallways and kitchens require durable, non-slip options, while moisture-prone spaces such as bathrooms benefit from water-resistant choices. The right tile not only enhances aesthetics but also ensures longevity and functionality.
Cutting Tiles with Precision
Proper tile cutting is key to achieving a polished look. The type of tile material determines the tool required; manual cutters work well for standard ceramic and porcelain tiles, while electric cutters are better suited for thick or natural stone tiles. Accurate measurements and clean cuts prevent uneven edges and misaligned patterns, contributing to a professional finish. Taking the time to cut tiles correctly ensures a seamless appearance throughout the installation.
Preparing the Surface for Tiling
A smooth and even surface is essential before laying tiles. Walls and floors should be clean, dry, and free from debris. If replacing wallpaper with tiles, remove the wallpaper completely and patch any holes or cracks with filler. Applying a primer creates a solid base for the adhesive to bond effectively. Skipping this step can lead to uneven tiles, weak adhesion, and long-term durability issues.
Mixing and Applying Adhesive Correctly
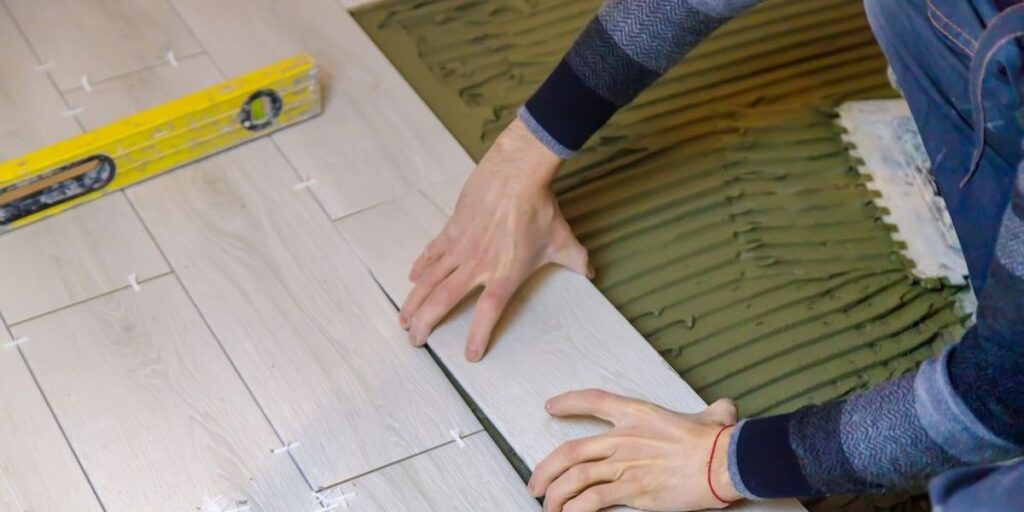
A strong bond between the tile and the surface depends on the adhesive mix. The consistency should be thick enough to hold tiles in place without excessive slippage. Mixing according to manufacturer instructions ensures proper adhesion. When applying adhesive, use a notched trowel to create straight ridges; this helps the adhesive spread evenly and minimizes trapped air, leading to a stronger, more secure bond.
Laying the Tiles Evenly
One of the most critical steps in the process is how to get perfectly even tiles during installation. Proper spacing between tiles prevents uneven edges and allows room for grout. Using tile spacers maintains consistent gaps, while a leveling system ensures the tiles sit flush against each other. Large-format tiles particularly benefit from back-buttering, applying a thin layer of adhesive to the tile’s back before placing it, enhancing grip and stability.
Avoiding Common Tile Installation Mistakes
Even the best materials and tools won’t guarantee success if mistakes occur during installation. Avoiding these common errors will help achieve a flawless finish:
- Skipping surface prep results in tiles not adhering properly, leading to an uneven and unstable installation. Always ensure the base is clean, dry, and level.
- Misaligned or jagged cuts disrupt the visual harmony of the layout. Precision cutting tools and careful measurements help maintain clean edges.
- Not all adhesives are suitable for every tile type. Choosing the right adhesive prevents issues like tiles from loosening over time.
- Planning the tile layout before applying adhesive prevents last-minute adjustments and misalignment. Marking guidelines with chalk lines ensures accuracy.
- Allowing adhesive to set before grouting prevents shifting tiles. Applying grout too soon can lead to uneven joints and an untidy finish.
Grouting and Finishing Touches
Once tiles are securely in place, grouting completes the installation by filling the gaps and locking tiles together. Choosing the right grout color enhances the overall aesthetic, while proper sealing prevents moisture absorption. Wiping away excess grout immediately and allowing it to cure fully ensures a clean and polished look. Regular maintenance keeps tiles looking fresh and prevents discoloration.
Final Thoughts
Achieving a perfect tile installation requires careful planning, precision, and attention to detail. This step-by-step guide to tiling a floor or wall provides the foundation for a smooth and successful project. Following these tile installation tips will help create a professional-quality finish. By preparing the surface correctly, using the right tools, and avoiding common mistakes, you can enjoy beautifully tiled spaces that stand the test of time. If you have no idea what you are doing wrong or right, it might be time to bring in the professionals. Ask a pro from Afnan Garden Design for expert tile installation. Just contact us for top-notch tile-fixing services in Dubai!
