
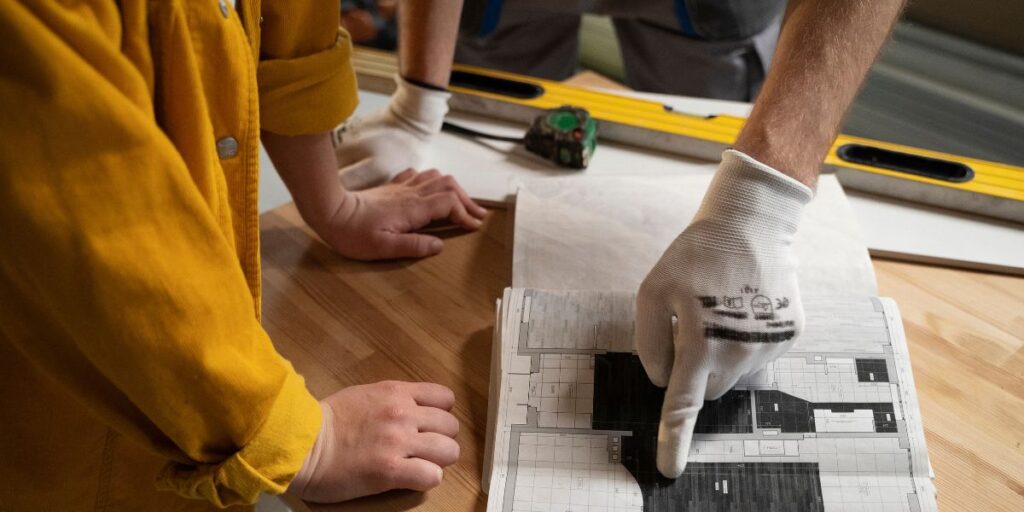
Tile work is visible, long-lasting, and often costly to correct, so meeting local tile installation standards isn’t optional. In Dubai, contractors must align with building regulations and internationally recognized tiling codes to ensure safety, durability, and warranty compliance. Referencing the Dubai Building Code and local practice guides early helps you avoid rework, water damage, or failed inspections.
Step 1: Inspect and Prepare the Substrate
A good tile job begins with a clean surface. Check for structural cracks, loose screed, and flatness. Surfaces must be clean, dry, and primed, with maximum allowable deviations of less than 1/16 inch under a straightedge for walls and floors. If the surface fails this check, level it or apply an appropriate backer board. Preparation reduces tile failure and maintains stable grout joints.
Step 2: Choose the Right Materials and Adhesives
Use adhesives and grouts that meet recognized classifications, EN 12004 and ISO 13007 classify adhesives by performance (e.g., C1, C2, improved, fast-setting), so pick the correct type for tile size, substrate, and exposure.
For heavy or large-format tiles, choose an adhesive with a higher classification and follow the manufacturer’s open-time and pot-life guidance. Using certified products reduces bond failures and keeps your installation within accepted standards.
Tip: Matching Tiles, Adhesives, and Substrates
Large-format porcelain often requires “back-buttering” (applying adhesive to the tile back) to achieve the necessary area of contact. Standards and guides specify specific contact percentages for wet and dry areas, aiming for industry-recommended coverage to avoid hollow spots.
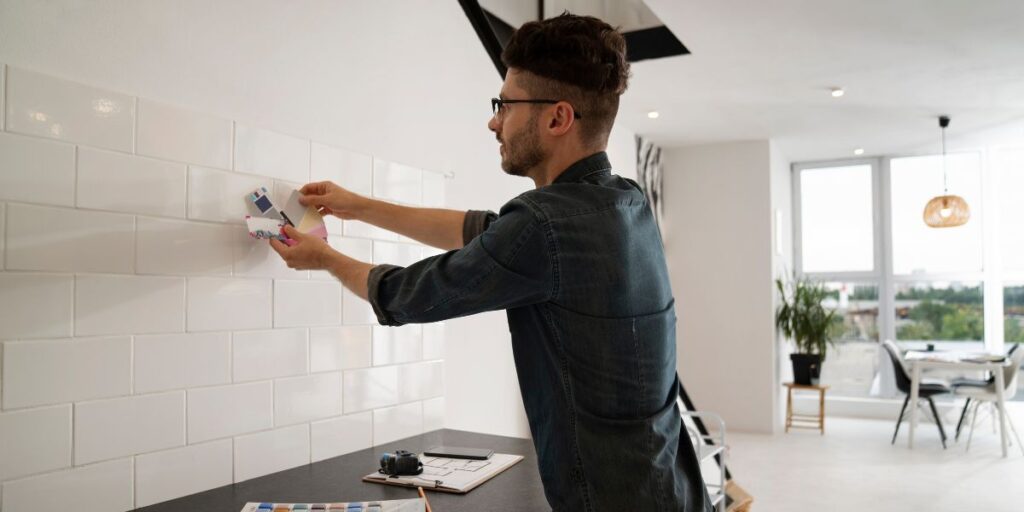
Step 3: Waterproofing, Membranes, and Movement Joints
Wet areas and exteriors require certified waterproofing membranes to be applied according to ISO/EN guidelines and the manufacturer’s instructions. Include movement joints at edges, changes of plane, and long runs to accommodate thermal expansion; failing to provide movement joints is a common source of cracked tiles. Use membranes and joint systems that comply with recognized test standards.
Step 4: Follow a Disciplined Tile-Laying Procedure
A standardized tile-laying procedure keeps installations replicable and compliant:
- Plan your layout and dry-lay to minimize cuts and ensure visual balance.
- Use the correct trowel notch size; butter the back of large tiles when required.
- Set tiles with consistent spacers and check levels as you go.
- Clean excess adhesive before it cures to protect grout lines.
Keep a step-by-step checklist during installation to make audits straightforward and to ensure every action follows the accepted floor tile installation process.
Step 5: Curing, Grouting, and Finishing
Allow adhesives and screeds to reach manufacturer-specified cure times before grouting or exposing the surface to traffic. Select grout types that are suitable for the joint width and expected movement, and seal natural stone as required. Proper curing and finishing protect the tile bond and reduce long-term maintenance.
When to Hire a Professional?
Complex substrates, large-format tiles, or high-risk areas (such as showers and external terraces) benefit from the expertise of experienced tradespeople. A certified contractor will reference the correct standards, supply compliant materials, and provide documented testing.
Landscaping & Outdoor Tiling
If your project involves linking hardscape tiling with planting areas, coordinate with landscaping specialists early in the process. For projects that combine paving and plant beds, consider working with firms like Afnan Garden Design. We offer professional landscaping services in Dubai to ensure drainage, substrate preparation, and aesthetics are all aligned.
FAQs
Q1: How do I confirm which national standard applies in Dubai?
Check the Dubai Building Code and project specifications; many Dubai projects reference EN/ISO or British standards alongside local practice guides.
Q2: What adhesive classification is best for outdoor porcelain?
Choose an EN/ISO-classified adhesive marked for external use with enhanced mechanical properties (e.g., C2 or equivalent).
Q3: Can tiles be installed over existing tiles?
Yes, if the substrate is sound, level, and properly cleaned, bonding agents and preparation methods vary depending on conditions. Follow local guidance.
Q4: How long before grouting after tile setting?
Follow the adhesive manufacturer’s recommended cure time, typically 24 to 72 hours, although this may vary depending on the product and environmental conditions.
Q5: Do I always need a waterproof membrane in bathrooms?
Wet areas typically require waterproofing following local practice guides and ISO standards; membranes protect the substrate and structure.
Q6: What’s the acceptable flatness tolerance for floor tiles?
Refer to the applicable code (e.g., BS 5385 guidance) and project specs; tolerances depend on tile size and location!
Q7: Are there special rules for large-format tiles?
Yes. Large tiles often require greater adhesive coverage, back-buttering, and specialized handling procedures to prevent lippage and hollow spots!
Q8: What records should I expect from a contractor?
Product data sheets, installation checklists, waterproofing certificates, and completion photos. These documents show compliance and protect both parties.
Final Thoughts
Meeting local and international tile installation standards protects your investment, prevents failures, and speeds approvals. Follow a clear tile fixing guide: assess and prepare substrates, use certified materials (EN/ISO/ANSI), apply correct waterproofing and movement joints, and document every step.
For guaranteed compliance and a professional finish, hire an expert tile fixing contractor in Dubai. Afnan Garden Design understands local codes and tile-laying procedures for lasting results. Contact us today!
